This guide is based on Windows 10 and ReShade 4.9.1.
Actually, this article could also be called “A Beginner’s Guide to Reshade”. It describes how to install ReShade including different shader collections (see “Step 1”) and how to use ReShade in-game (see “Step 2”). This procedure is the same for most games. Even though the guide refers to a few shaders as examples, it is up to you which shader collections you install later, which shaders you use and how you adjust the values to achieve different effects.
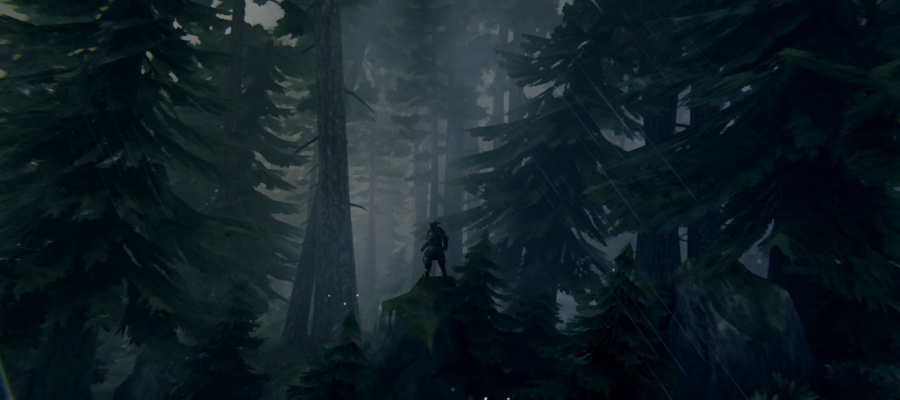
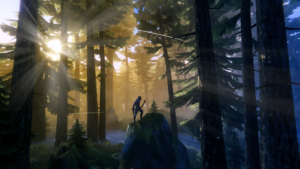
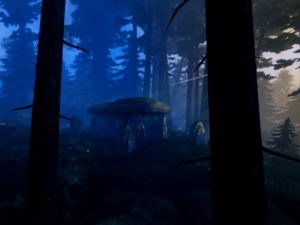
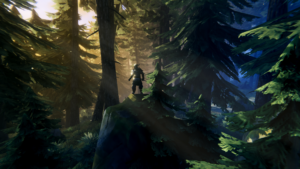
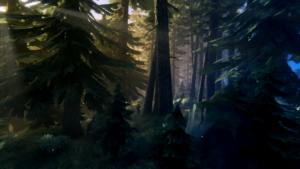
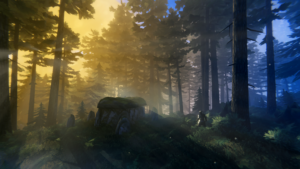
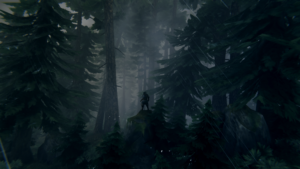
With this guide you should get an effect similar to the one on the following pictures, which where taken in the Black Forest biome (click on an image for a detail view):
Step 1 – Download and Install ReShade Including Different Shader Collections
- Download ReShade from https://reshade.me. (The name of the downloadable file is “ReShade_Setup_4.9.1.exe”.)
- Execute the downloaded file and click on “Click here to select a game and manage its ReShade installation”.
- Locate and select “valheim (valheim.exe)” – then click on “Use selected application”. If the game doesn’t appear in the “Select a game or application” list, you will have to browse and select the “valheim.exe” file manually. For Steam users it is located in “\steamapps\common\Valheim”.
- For the rendering API select “Direct3D 10/11/12”.
- Select “SweetFX by CeeJay.dk”, “AstrayFX by BlueSkyDefender” and “Insane-Shaders by Lord of Lunacy”. Click each checkbox until you see a check mark and not a square. Click “OK”. (“Standard effects” is mandatory and can’t be unselected.)
- Wait until installation is complete. Then click on the “X” in the upper right corner. (To update or uninstall ReShade, launch this tool and select the game and rendering API again. An option to update and an option to uninstall will pop up then.)
Step 2 – Setup and Use ReShade In-game
- Start Valheim and wait until you see the start menu.
- Press the Home key. (The naming of this key depends on the country you live in – that’s why I’ve included the keyboard graphic at the end of this article, on which the position of the key is marked.)
- Click on “Skip Tutorial”.
- Click on the plus in the upper right corner of the ReShade tool to create a new “Preset” and enter “OilifyPreset” – then hit the Return or Enter key.
- In the list select “Oilify [Oilify.fx]”, “Normal_Filter_Anti_Aliasing [NFAA.fx]”, “Levels [Levels.fx]”and “ColorMatrix [ColorMatrix.fx]”. Feel free to use the search field.
- After you have selected the desired shaders click on the “Active to top” button which is located next to the search field.
- Check that the shaders are loaded in the right order: 1. “Oilify [Oilify.fx]”, 2. “Normal_Filter_Anti_Aliasing [NFAA.fx]”, 3. “Levels [Levels.fx]”, 4. “ColorMatrix [ColorMatrix.fx]”. If this is not the case please correct the load order by rearranging the items via drag and drop. The load order matters!
- Below the shader list there is an area where you can adjust the different values for each selected shader. If it isn’t expanded yet expand the ColorMatrix.fx shader by clicking on it. Then click on “Reset all to default” which will reset all values of the ColorMatrix.fx shader to its default values. (Actually, it should have its default values right after installation, but we want to be sure. Feel free to play around with this values in the future – you can reset them any time.)
- Click on “Settings” in the menu bar of the ReShade tool. Then click on the the “Effect toggle key” field. Hold down the left Shift key and press F. Afterwards click somewhere outside the ReShade tool. Now you can easily turn on and off the shader effects by pressing left Shift and F together.
- For better performance, click on “Performance Mode” in the lower right corner of the ReShade tool.
- Press the Home key again to close the ReShade GUI. That’s it. The fine tuning is up to you!
Note: If you find it too dark in-game, especially in the dungeons or at night, just disable “Levels.fx” in the shader list. (Press the Home key to open the ReShade GUI – then click on “Home” in the menu bar of the ReShade tool to see the shader list.)


